- Log into your agency website.
- Click on Add micro-content.
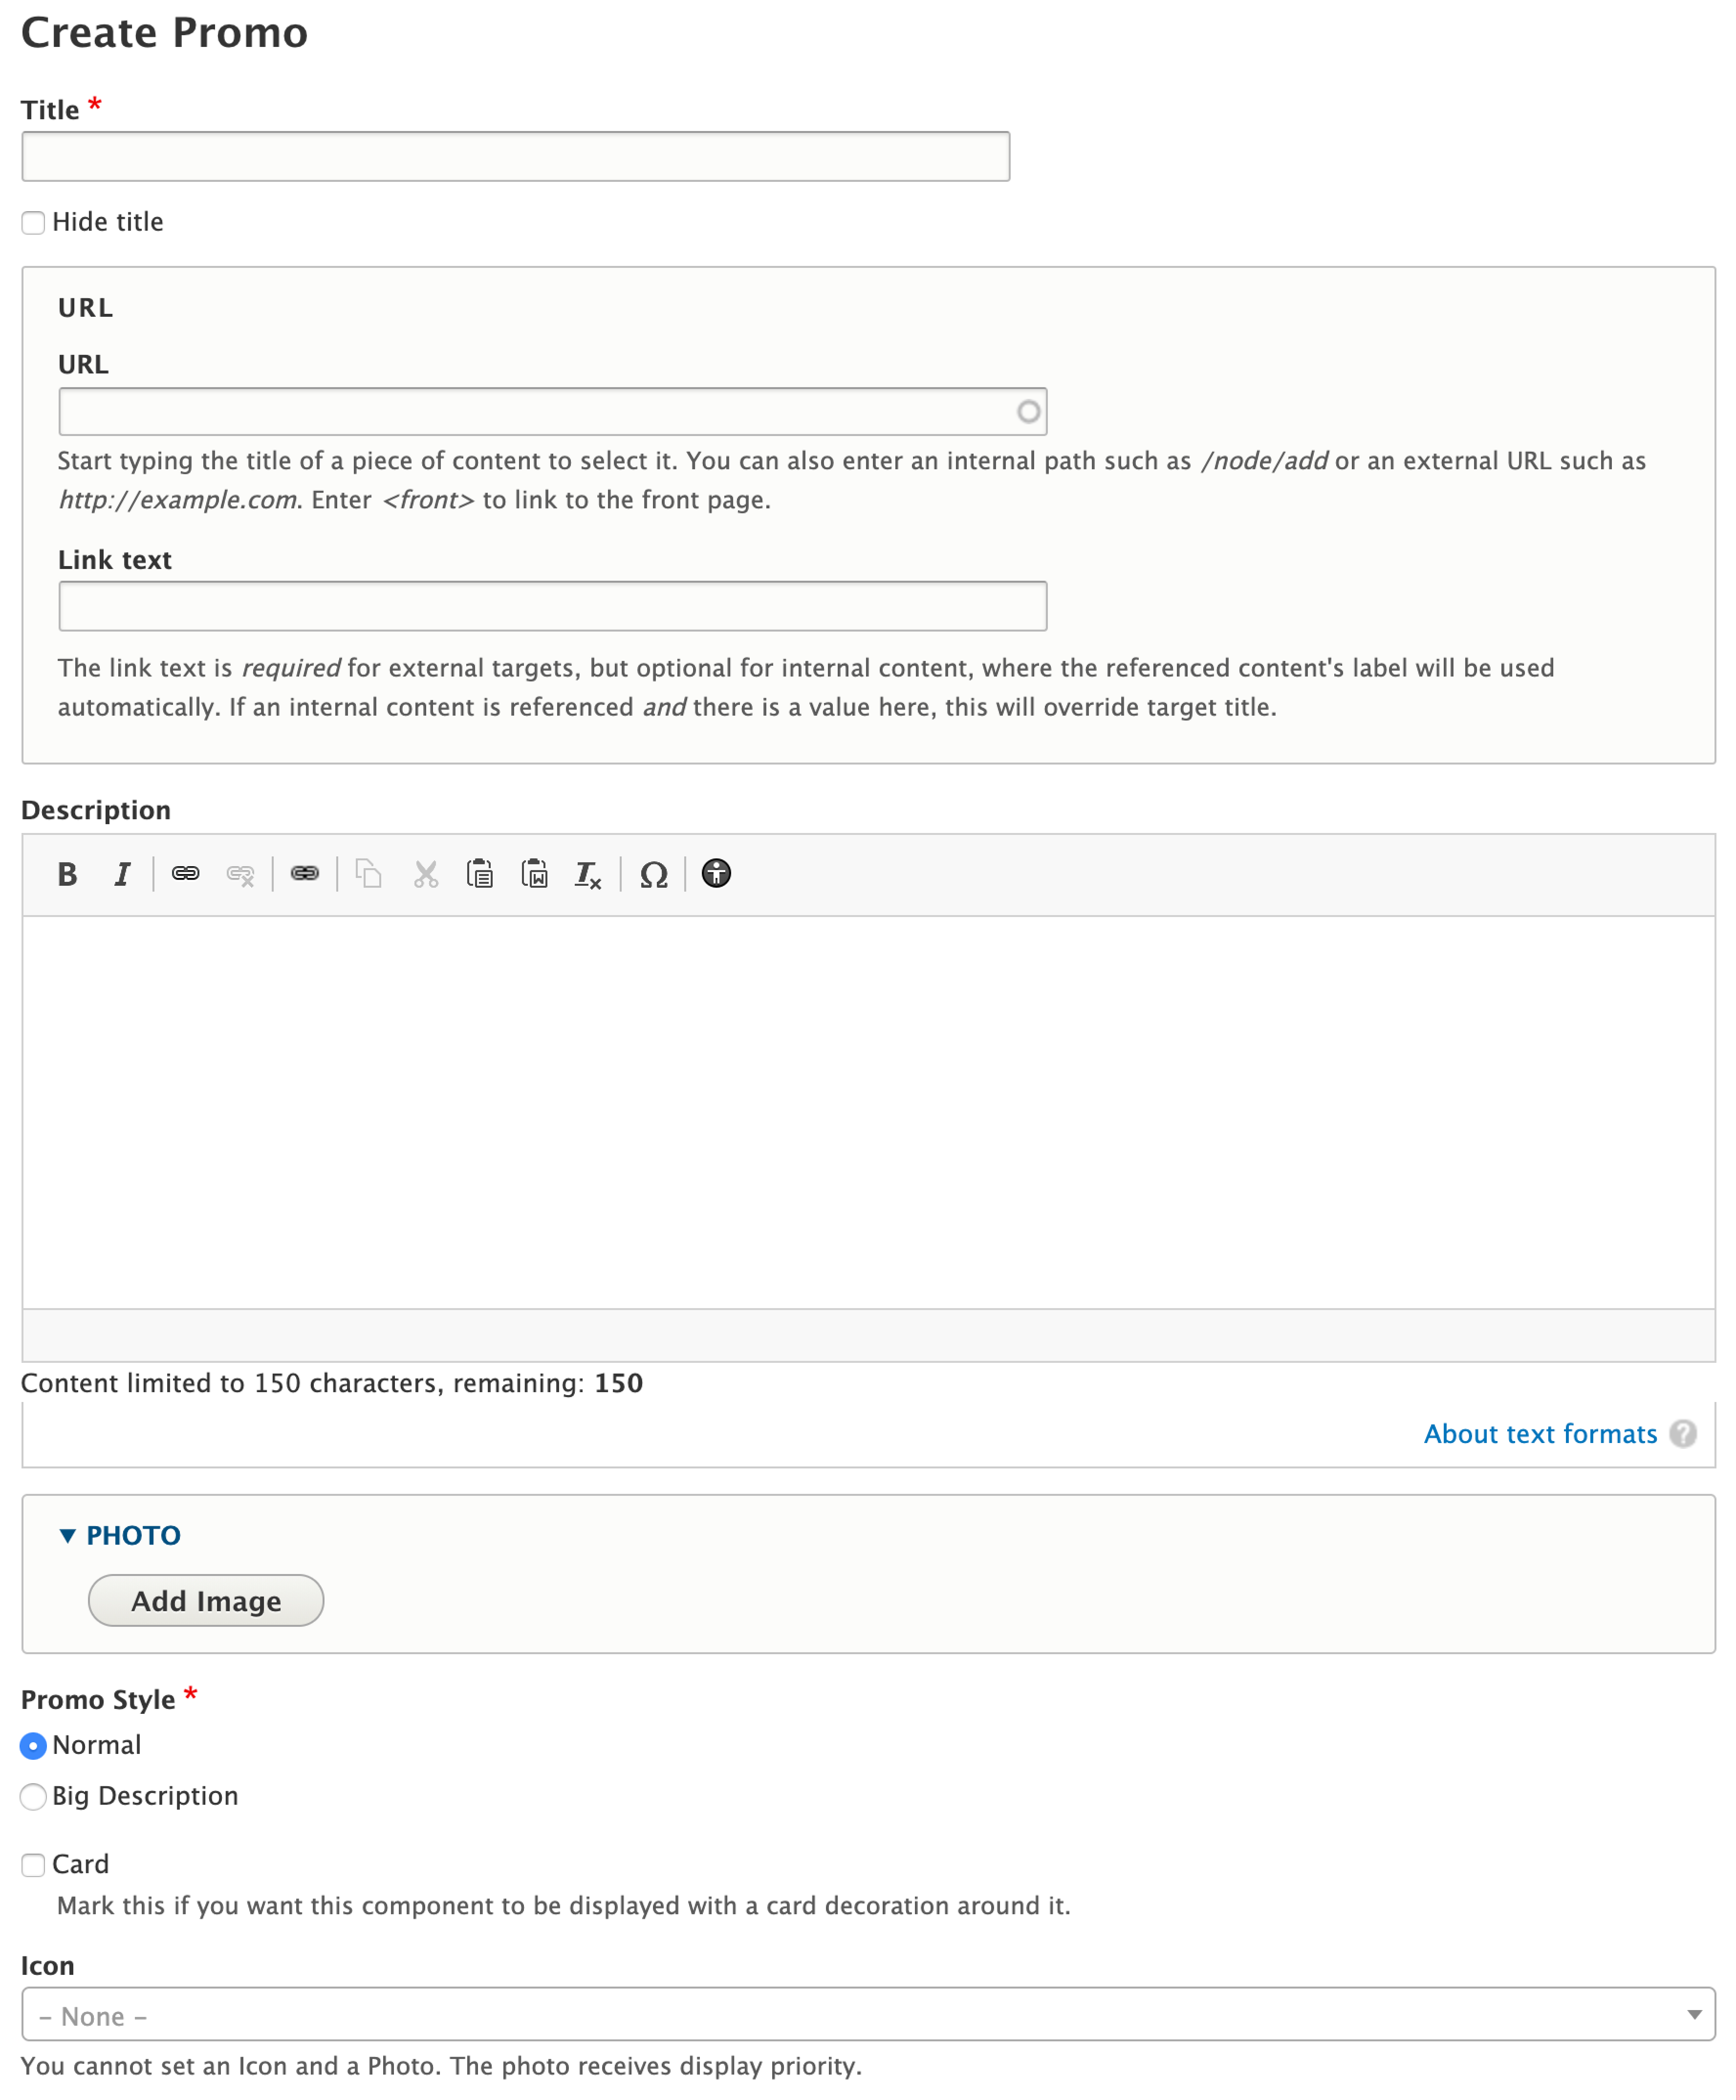
- Select Promo.
- Add Title (required).
- The Title is required so that the Promo can be found in the back-end of the system.
- It will display at the top of the Promo block.
- Check the Hide Title box if you don’t want the title of the Promo to be displayed on the site as a part of the content.
- Enter a URL Destination (required). Enter the URL and Link Text for the page that your Promo should link to.
- If referencing an internal link (another link on this site), begin typing the name of the page you want to reference. A drop-down list will appear and you can select a page from there.
- If you’re linking off to an external site, you’ll need to include the full URL (https://www.google.com).
- Add Link Text. This is how your URL will display to users.
- Use the Description field to give more detail to your Promo (optional).
- This field is limited to 150 350 characters.
- Add an image to the Promo (optional).
- Click the Add Image button.
- You can choose an image that’s already been added:
- Click on the desired image.
- Click the Select button at the bottom of the window.
- You can also upload a new image:
- Click Upload at the top of the screen.
- Drag the image from a location on your computer or choose Select Files to open the location of the image. How to Upload an Image
- Click Save.
- Choose the Promo Style by selecting Normal or Big Description
- Select the Card checkbox if you want the Promo to display with the card decoration around it (optional).
- Select an Icon from the list provided (optional).
- The selected Icon will only display if the Card box is checked and there is no Image.
- To publish your CTA, leave the Published checkbox checked.
- To Save as a Draft without publishing, uncheck the box.
- Click Save.
{"serverDuration": 233, "requestCorrelationId": "1d0b95c14bd041c58fd0fd615b9f81a4"}